 PhotoSplit Studio
If you've been tasked with digitizing the family archive, you probably have a daunting mountain of shoeboxes filled with prints. The thought of placing each photo perfectly on the scanner glass, previewing, cropping, and saving it individually is enough to make anyone quit before they even start.
Fortunately, there is a better way. By utilizing the "Batch Scan & Auto-Split" method, you can increase your scanning speed by over 400% while actually improving the final image quality. Here is the step-by-step guide on how to mass scan photos fast.
1. Equip the Right Hardware
Using a phone camera or a "feed scanner" (which pulls photos through rollers) is a recipe for disaster. Phone cameras cause glare and distortion, while feed scanners easily scratch vintage photos and get jammed by stiff or sticky paper.
You need a high-quality Flatbed Scanner. A flatbed scanner allows you to place multiple photos on the large glass bed at once, completely undisturbed.
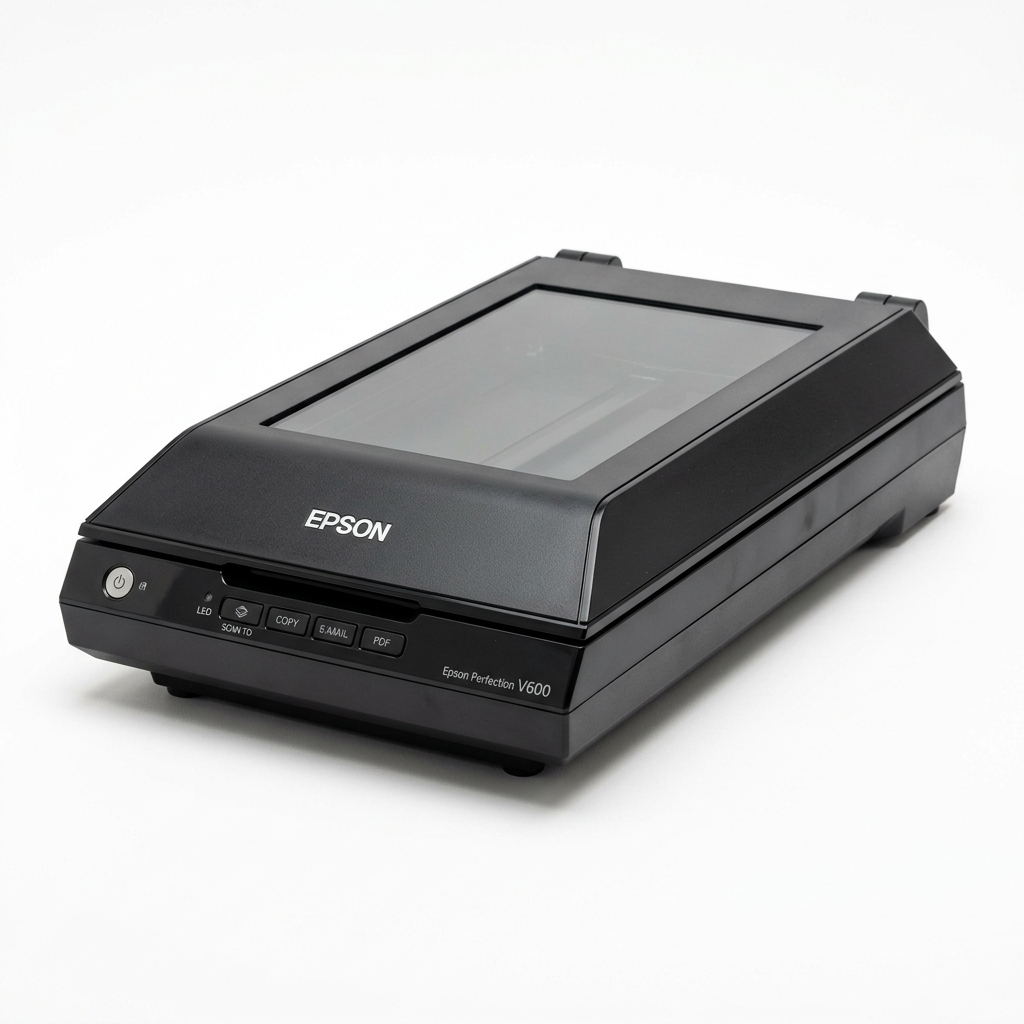
Epson Perfection V600
The gold standard for at-home photo archiving. It has an massive flatbed area, incredible color accuracy, and even scans negatives.
View on Amazon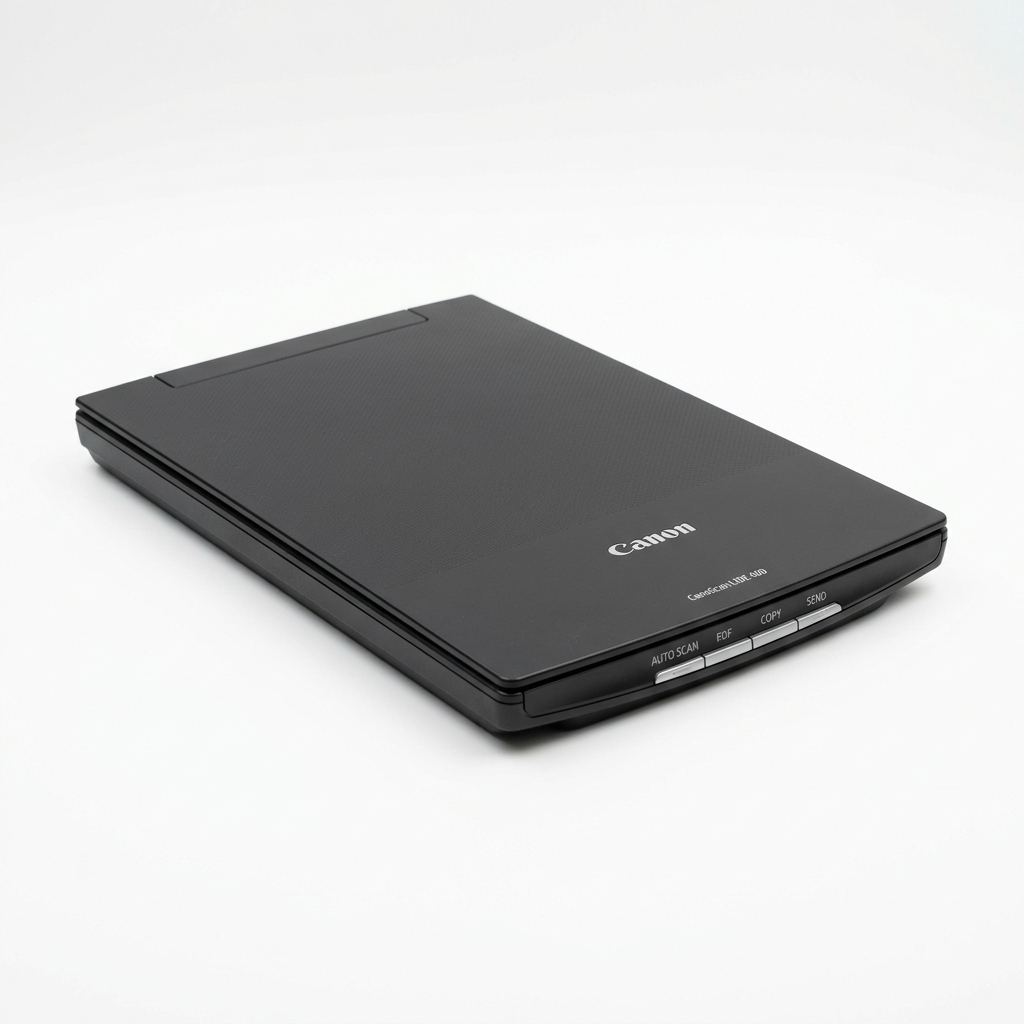
Canon CanoScan LiDE 400
An excellent, affordable alternative. It's incredibly thin, powered by a single USB-C cable, and extremely fast at scanning documents and photos.
View on Amazon2. Clean Your Scanner and Photos
When you are mass scanning, a single piece of dust on the scanner glass will ruin every single photo you scan that day. Before you start your session, you absolutely must clean the glass and the photos.
- Use a microfiber cleaning cloth (like MagicFiber) to wipe down the scanner glass. Never use Windex or harsh chemicals.
- Use a camera air blower (like the Giottos Rocket Air) to gently blow dust off the photos before placing them down. Do not wipe old photos with cloths, as you can scratch the emulsion.
3. The Batch Scanning Workflow
Here is where you gain all your speed. Instead of scanning photos one by one, follow this loop:
- Place 3 to 5 photos on the scanner glass at the same time. Don't worry about aligning them perfectly straight; just make sure there is about a half-inch of empty space between them so the background shows through.
- Close the lid and hit "Scan".
- Save the massive resulting image file (which contains all 4 photos) to a folder on your computer. Call it `batch_001.jpg`.
- While the scanner is running the next batch, you can sort the next pile of photos.
By bypassing the scanner software's tedious "preview and crop" tools, you can just churn through physical photos as fast as your scanner arm can move.
4. The Secret Weapon: Auto-Splitting
Now you have a folder full of large `batch_xxx.jpg` files, each containing multiple crooked photos. Do you have to crop them manually in Photoshop? Absolutely not.
Enter PhotoSplit Studio
We built PhotoSplit Studio specifically to solve this problem. It is a completely free, private, browser-based tool that uses edge-detection AI to automatically slice up your batch scans.
- ✅ Automatically detects borders
- ✅ Automatically straightens crooked photos
- ✅ 100% private (files never leave your computer)
- ✅ Free to use, forever
Simply drag and drop your entire folder of batch scans into PhotoSplit Studio. Within seconds, it will detect every individual photo, straighten it, crop the background, and allow you to download them all as individual JPEGs.
Conclusion
Digitizing an archive of thousands of photos shouldn't take a lifetime. By investing in a solid flatbed scanner, preparing your workspace, scanning in massive batches, and using an automated photo splitter like PhotoSplit Studio, you can blaze through decades of memories in a single weekend.