Old photos don't have to stay faded. Learn how to bring back the colors of the past using modern digital tools.
Physical photographs are chemically unstable. Over decades, exposure to light, heat, and humidity causes the dyes in the paper to break down. This is why photos from the 1970s often turn bright magenta or yellow, and black-and-white prints lose their contrast and turn a muddy grey.
While you can't reverse the chemical damage to the physical print, you can restore the memory digitally. In this guide, we explore the two paths to restoration: physical preservation and digital magic.
Stopping further damage to the original print.
Bringing back the original appearance on screen.
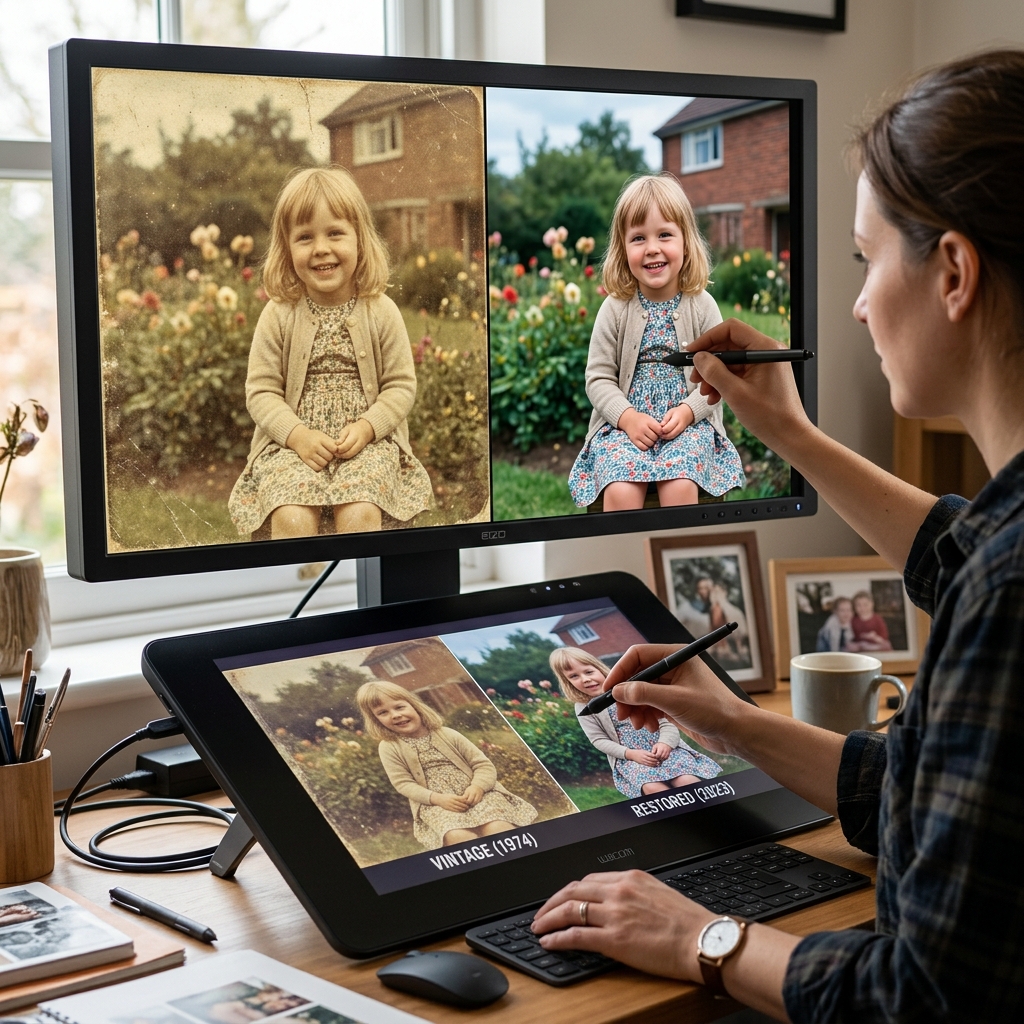
When you split your photos in PhotoSplit Studio, you×ll notice a toggle for Auto Color Enhance. This tool uses a histogram equalization algorithm to find the "true" white and black points in your photo. It can often strip away years of yellowing in a single click, revealing the vibrant greens and blues that have been hidden for decades.
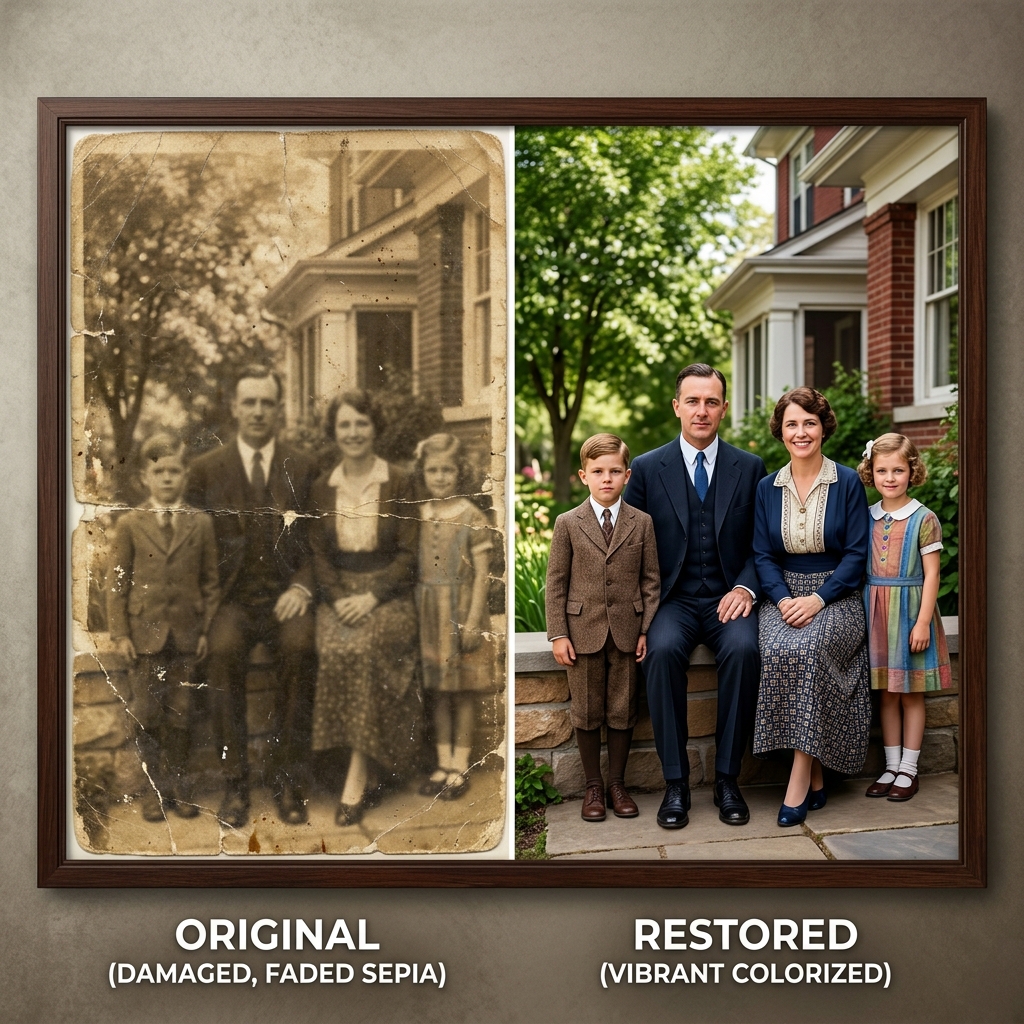
A dramatic example of how modern digital restoration can bring a faded sepia print back to life.
Many color prints from the mid-20th century were made with dyes that fade at different rates. The yellow and cyan dyes often fade first, leaving only the magenta. If our auto-enhancer doesn't fully fix it, you can use a free tool like GIMP or Google Photos to manually slide the "Tint" or "Warmth" controls toward green to neutralize the pink cast.
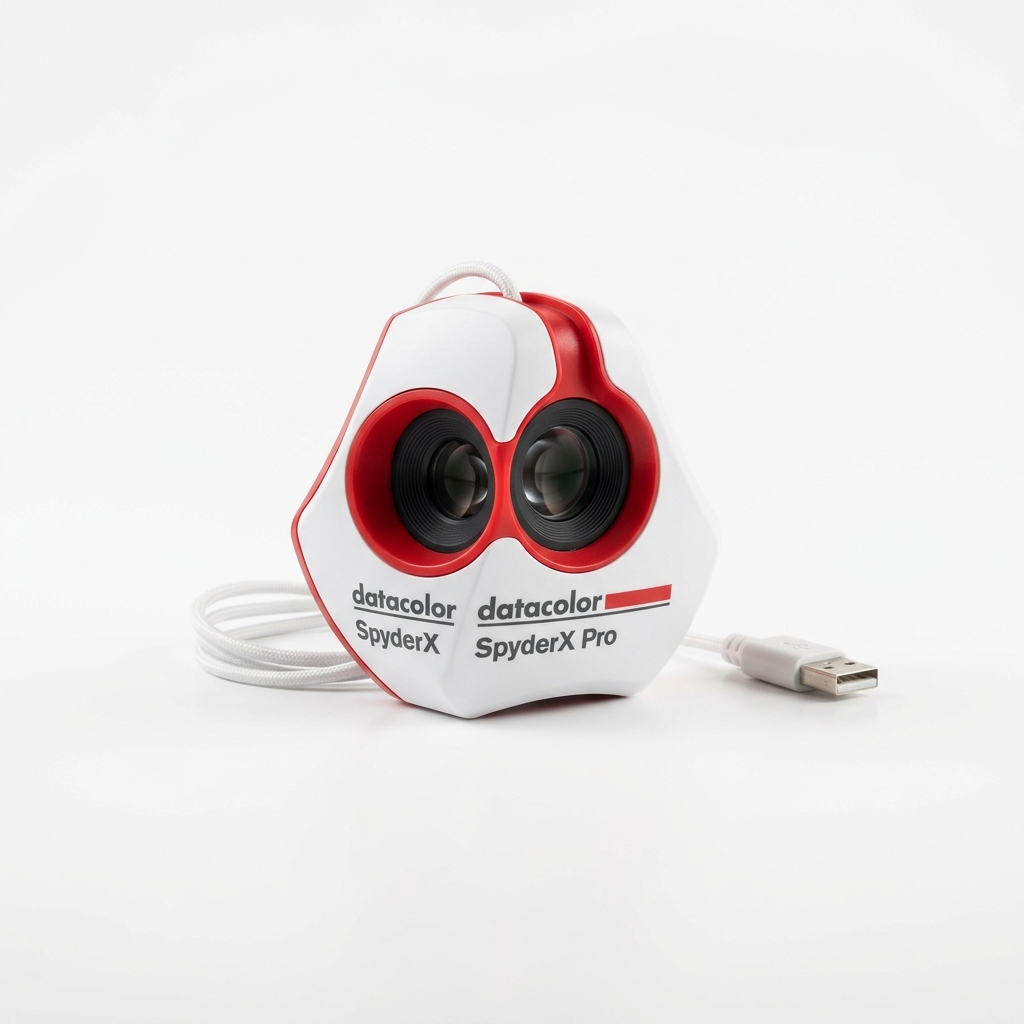
Before doing any color correction, ensure your monitor is actually displaying accurate colors with a hardware colorimeter.
View on AmazonIf your photo has physical tears, water damage, or deep scratches, simple color correction isn't enough. In 2026, AI tools have become incredibly accessible. Services like MyHeritage In Color or Adobe Photoshop's Neural Filters can "hallucinate" the missing data to fix a torn corner or remove a crease from a face with startling accuracy.
While some purists prefer to keep B&W photos as they are, colorizing can make an ancestor feel much more "real" and relatable. If you decide to colorize, always keep a copy of the original B&W scan as your archival master. Colorization is an artistic choice, but the original scan is the historical record.
Always scan old faded photos in 24-bit color mode, even if they are black and white. This captures more information about the paper's texture and the subtle aging of the silver halide crystals, providing much more data for restoration software to work with.
Restoration is a mix of science and art. By combining careful physical storage with modern digital splitting and enhancement tools, you can ensure that your family's visual history doesn't fade into obscurity.
Pair PhotoSplit Studio with the best hardware for fast, high-quality archiving and secure backups.
As an Amazon Associate, PhotoSplit Studio earns from qualifying purchases.