Don't let these simple errors ruin your family archive. Learn how to scan like a pro.
Digitizing old photos is a labor of love, but it's also a lot of work. There is nothing more heartbreaking than spending a full weekend scanning hundreds of photos, only to realize later that the quality is poor, the colors are off, or the images are covered in digital "dust."
To help you avoid a "re-scan" nightmare, we×ve compiled the five most common photo scanning mistakes we see at PhotoSplit Studio and how you can fix them before you hit the start button.
Many people scan at 72 DPI or 150 DPI to save disk space or time. While these look fine on a small phone screen today, they will look pixelated and blurry on future high-resolution displays or if you ever want to print them.
300 DPI is the standard for 1:1 reproduction. 600 DPI is the "gold standard" for archiving because it allows you to enlarge the photo later without losing detail. Never go below 300 DPI for family memories.
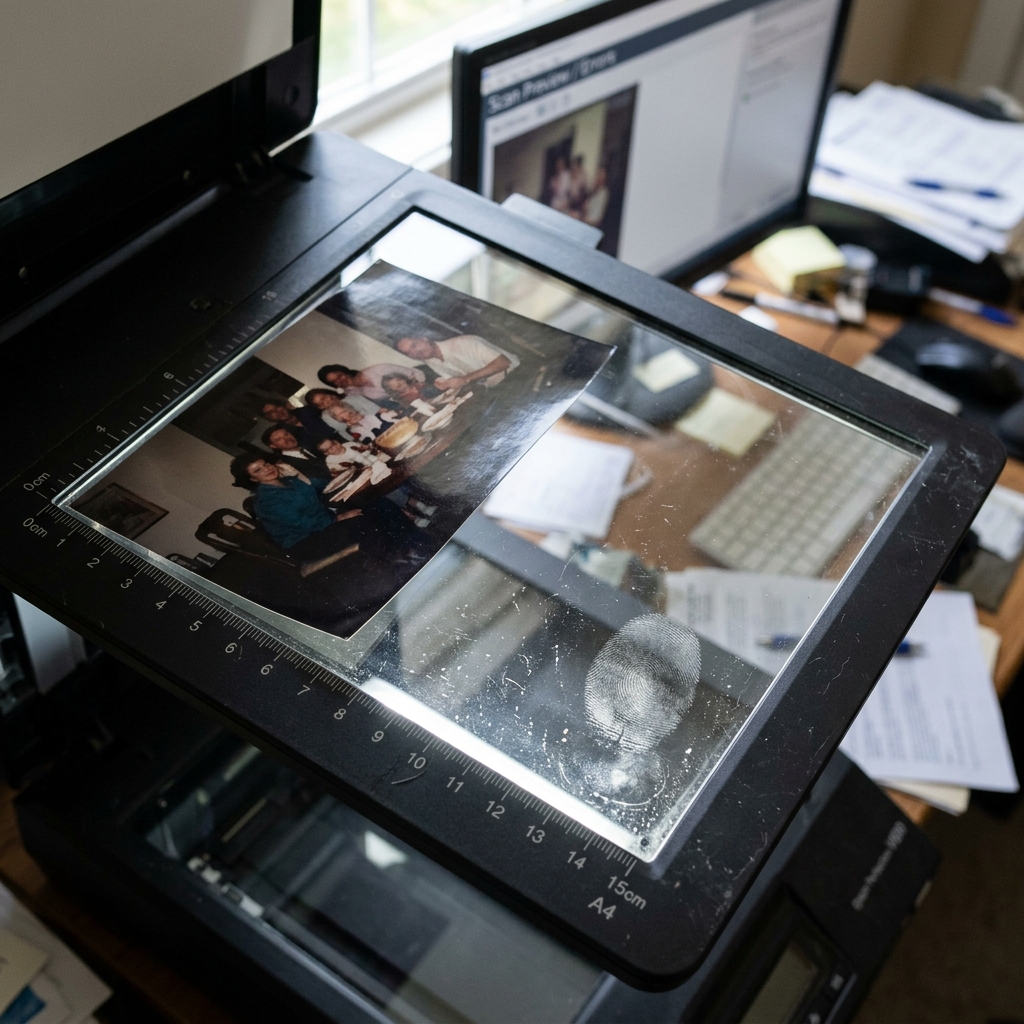
A single fingerprint or a stray hair on the scanner bed will show up on every single photo in that batch. If you are scanning at high resolution, even microscopic dust becomes a visible distraction.
Clean your scanner glass with a microfiber cloth before you start every session. For stubborn smudges, use a tiny amount of high-quality glass cleaner applied to the cloth, never directly to the scanner.
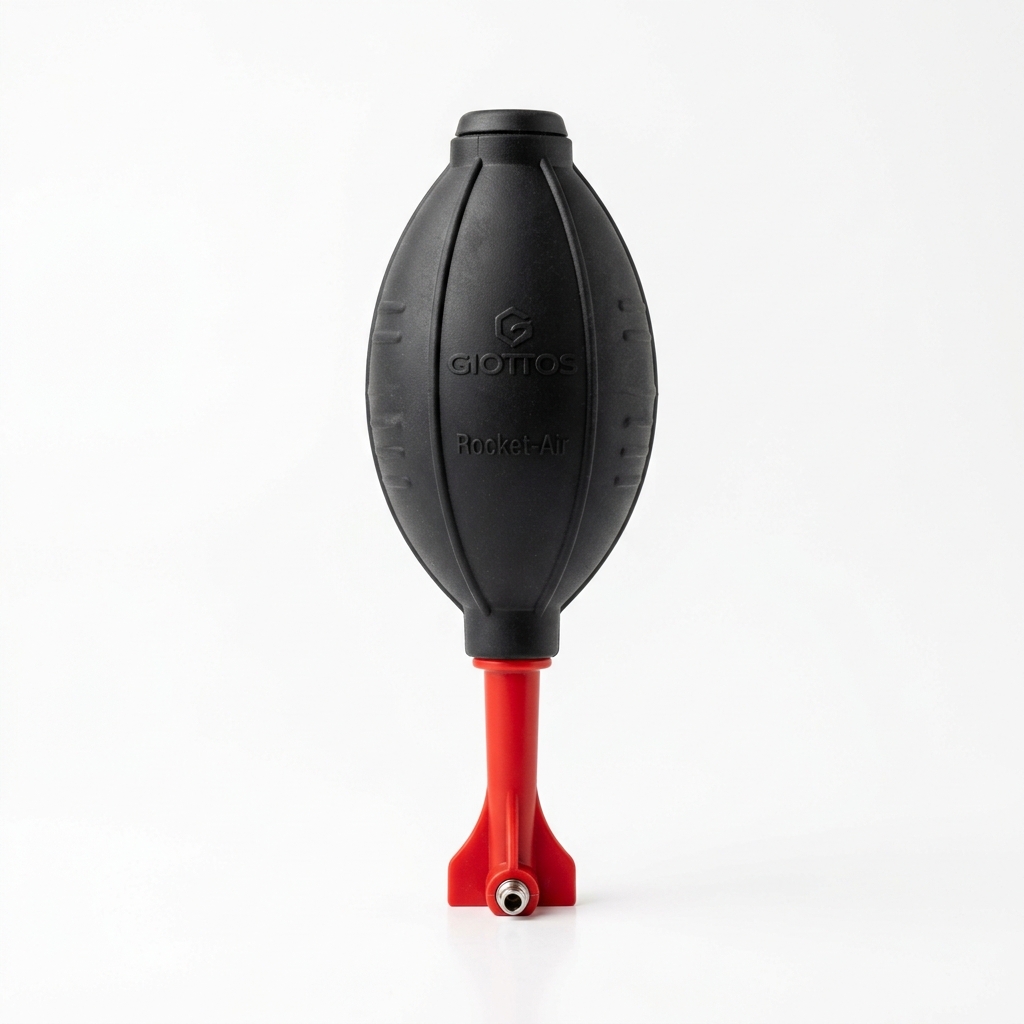
The safest way to remove dust from vintage photos and scanner glass without scratching the delicate emulsion.
View on AmazonIt's tempting to cram as many photos as possible onto the glass to save time. However, if photos are touching or overlapping, auto-detection algorithms (like the one in PhotoSplit Studio) won't be able to find the edges correctly.
Leave at least 5mm (about 1/4 inch) of space between every photo. This "white space" is critical for the computer vision engine to distinguish where one photo ends and the next begins.
Many scanner drivers have "Auto-Color," "Dust Removal," or "Sharpen" toggles enabled by default. Often, these built-in tools are aggressive and destroy fine detail or create artificial-looking colors.
Turn off all internal scanner corrections. It is much better to capture a "pure" scan and then use tools like PhotoSplit Studio's Auto Color Enhance or professional software like Photoshop later. You can always edit a good scan, but you can't "un-edit" a bad one.
Digital files are fragile. A single hard drive failure can wipe out a lifetime of memories in a millisecond.
Keep 3 copies of your archive: one on your computer, one on an external drive, and one in the cloud (Google Photos, Amazon, etc.).
Taking the time to set up your scanner correctly might add a few seconds to each batch, but it will save you days of frustration in the long run. Follow these steps, and your digital archive will be a high-quality legacy for your family.
Pair PhotoSplit Studio with the best hardware for fast, high-quality archiving and secure backups.
As an Amazon Associate, PhotoSplit Studio earns from qualifying purchases.